Two built-in ways to remove a background
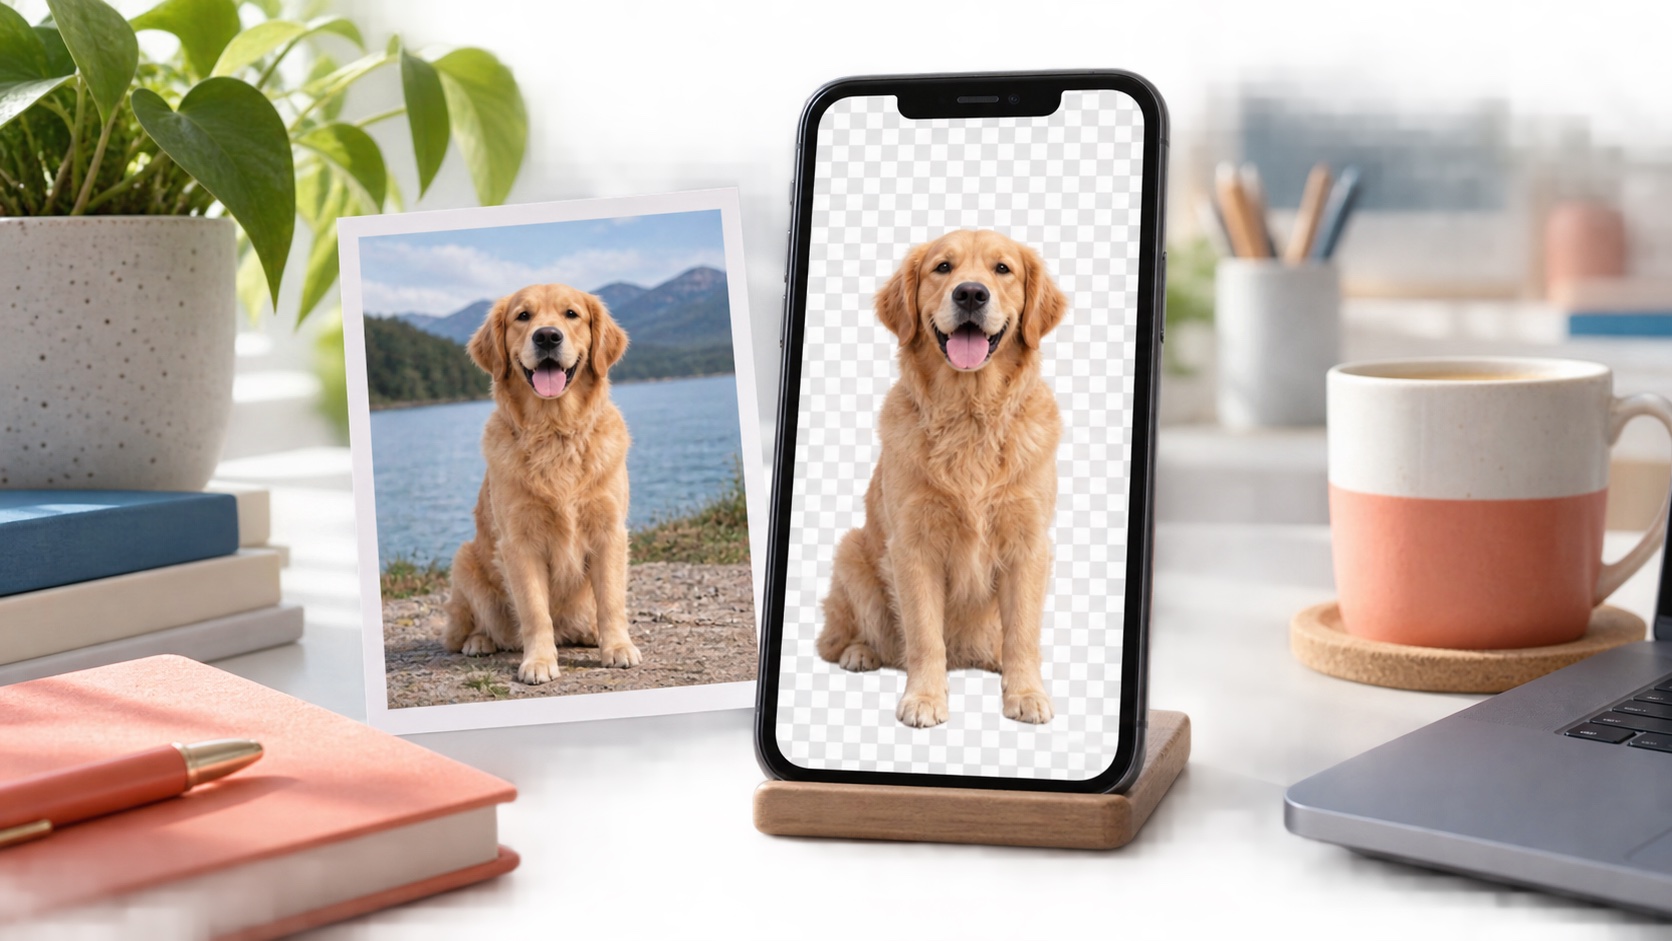
An iPhone can isolate the main subject of a photo without installing a background-removal app. The quickest method is to touch and hold a person, pet or object in Photos, then copy or share the cutout. On current software with the Preview app, you can also open an image and choose Remove Background to create an edited result.
These tools work best when the subject has a clear outline and visual separation from the background. They use automatic detection, so there is no detailed brush for repairing every edge. For product catalogues, hair detail or legal evidence, inspect the result closely and use a proper editor when accuracy matters.
Lift a subject in the Photos app
Open Photos and select the image. Touch and hold the main subject until a bright outline appears, then release. Choose Copy to paste the isolated subject into Notes, Messages or another compatible app, or choose Share to send or save it through an available destination. Apple calls this feature a photo cutout.
Apple’s photo cutout instructions say the feature is available in iOS 16 and later on iPhone XS, iPhone XR and newer models. It separates the detected subject for sharing; it does not replace the background inside the original photo, and Apple notes that the subject cannot be pasted directly onto another photo through this action alone.
Use Remove Background in Preview
On an iPhone version that includes Preview, open the image there, tap the More button and choose Remove Background. Apple says the command appears only when Preview detects a suitable subject. Save or share the edited file as a new copy so the original remains available if the automatic edge is wrong.
The Preview editing guide also covers cropping, rotation and size changes. Preview is helpful when you want an image file with the background removed, while Photos subject lift is ideal for quickly copying a person, animal or object into another document or conversation.
Save the cutout with transparency
A removed background is usually represented by transparency. Save or share in a format and destination that preserves it, commonly PNG. If you paste the cutout into an app that converts everything to JPEG, the transparent area may become white, black or another solid color because JPEG does not support transparency.
Test the saved file by opening it over a colored background or in an editor that displays transparency. A checkerboard is a common preview convention, but the checkerboard should not be baked into the image itself. Keep the original alongside the cutout until the destination confirms the file works as required.
Choose a photo that isolates cleanly
Use an image with sharp focus, good light and contrast between the subject and its surroundings. A dark-haired person against a dark wall, transparent glass, smoke, motion blur and overlapping objects can confuse automatic segmentation. Crop distracting objects near the edges before trying again, but avoid cutting into the subject.
For a product, photograph it against a plain surface with soft, even light. Leave space around the outline and avoid strong shadows that connect the object to the background. Better source photography produces cleaner edges than repeatedly running the same difficult image through automatic removal.
Fix missing or incomplete cutouts
If touching and holding does nothing, confirm the iPhone model and iOS version support the feature, then restart Photos and try a clearer image. Touch the subject rather than an empty area. If Preview does not show Remove Background, it has not detected a suitable subject in that file.
Try a tighter crop, better-lit source or a frame where the full object is visible. Automatic tools may omit thin straps, hair, bicycle spokes or parts hidden behind another object. When those details matter, move the image to a desktop editor with manual masking instead of presenting the automatic result as exact.
Use the cutout in documents and messages
After choosing Copy, open a compatible app, touch and hold in an editable area and choose Paste. In a presentation or note, resize the inserted subject without stretching it disproportionately. When sending through Messages or Mail, preview the attachment and confirm that transparency and resolution survived the handoff.
A cutout can be useful for stickers, invitations, simple product listings and profile graphics. Do not use background removal to misrepresent where an event occurred or to alter evidence. If the original context matters, include the unedited photo or clearly label the composite. The technical ability to isolate a subject does not prove that the resulting image is documentary.
Protect private details in the original
Removing the visible background may hide a room or bystander, but metadata can still contain capture date, device details or location depending on how the file is shared. Review sharing options and remove location when appropriate. Zoom into reflective surfaces and edges where private information may remain visible.
For a broader cleanup before sharing files, store originals securely and send only the copy needed for the task. If you are moving a library to Windows, our guide to transferring iPhone photos to a PC without iCloud explains a direct import workflow that preserves originals for backup.
A reliable no-app workflow
Start with a clear, well-lit image. Use Photos subject lift for a quick copy or share, or Preview’s Remove Background command when available. Save a new copy, confirm transparency and inspect difficult edges at full size. Keep the original until the final design or recipient accepts the result.
The built-in tools are fast and private because the workflow stays within Apple’s apps, but they are automatic rather than fully controllable. Use them for ordinary cutouts and move to a manual editor when precision matters. That distinction prevents a convenient feature from becoming a source of sloppy product images or misleading edits.
Add a new background without another specialist app
After copying the isolated subject, paste it into a document, slide, note or design surface that accepts images. Add a colored shape or another image behind it if that app supports layers or object ordering. This creates a simple composite without sending the original photo to an online background-removal service. The exact controls depend on the destination app, so confirm that it preserves transparency and exports at sufficient resolution.
For a plain white background, place the cutout on a white page or canvas and export a new image or PDF. For marketplace listings, check the platform’s required dimensions, file type, margin and background rules before building a whole set. A clean edge at phone-screen size may show halos on a large white product page, particularly around fur, hair, glass or soft shadows.
If you need the result as a standalone transparent file, use Preview’s saved background-removed copy when available or share the Photos cutout to a destination that creates an image file. Do not take a screenshot of the checkerboard preview: that turns the checkerboard into visible pixels and may reduce resolution. Open the exported file again, place it over both light and dark colors, and inspect the outline before deleting intermediate copies.
Automatic removal can produce a visually pleasing result while still trimming a finger, leaf, strap or part of an object. Compare it directly with the source, especially when the cutout represents an item for sale. Keep descriptions accurate and avoid presenting an edited image as evidence of condition. Built-in processing saves time, but the person sharing the image remains responsible for the final context and accuracy.
Sources
- Create and share photo cutouts on your iPhone
Apple Support | Checked
- Edit an image in Preview on iPhone
Apple Support | Checked
Editorial disclosure
Prepared with AI assistance using official Apple support documentation reviewed September 22, 2026. The featured image is AI-generated and shows a generic interface.