The simplest way to transfer without iCloud
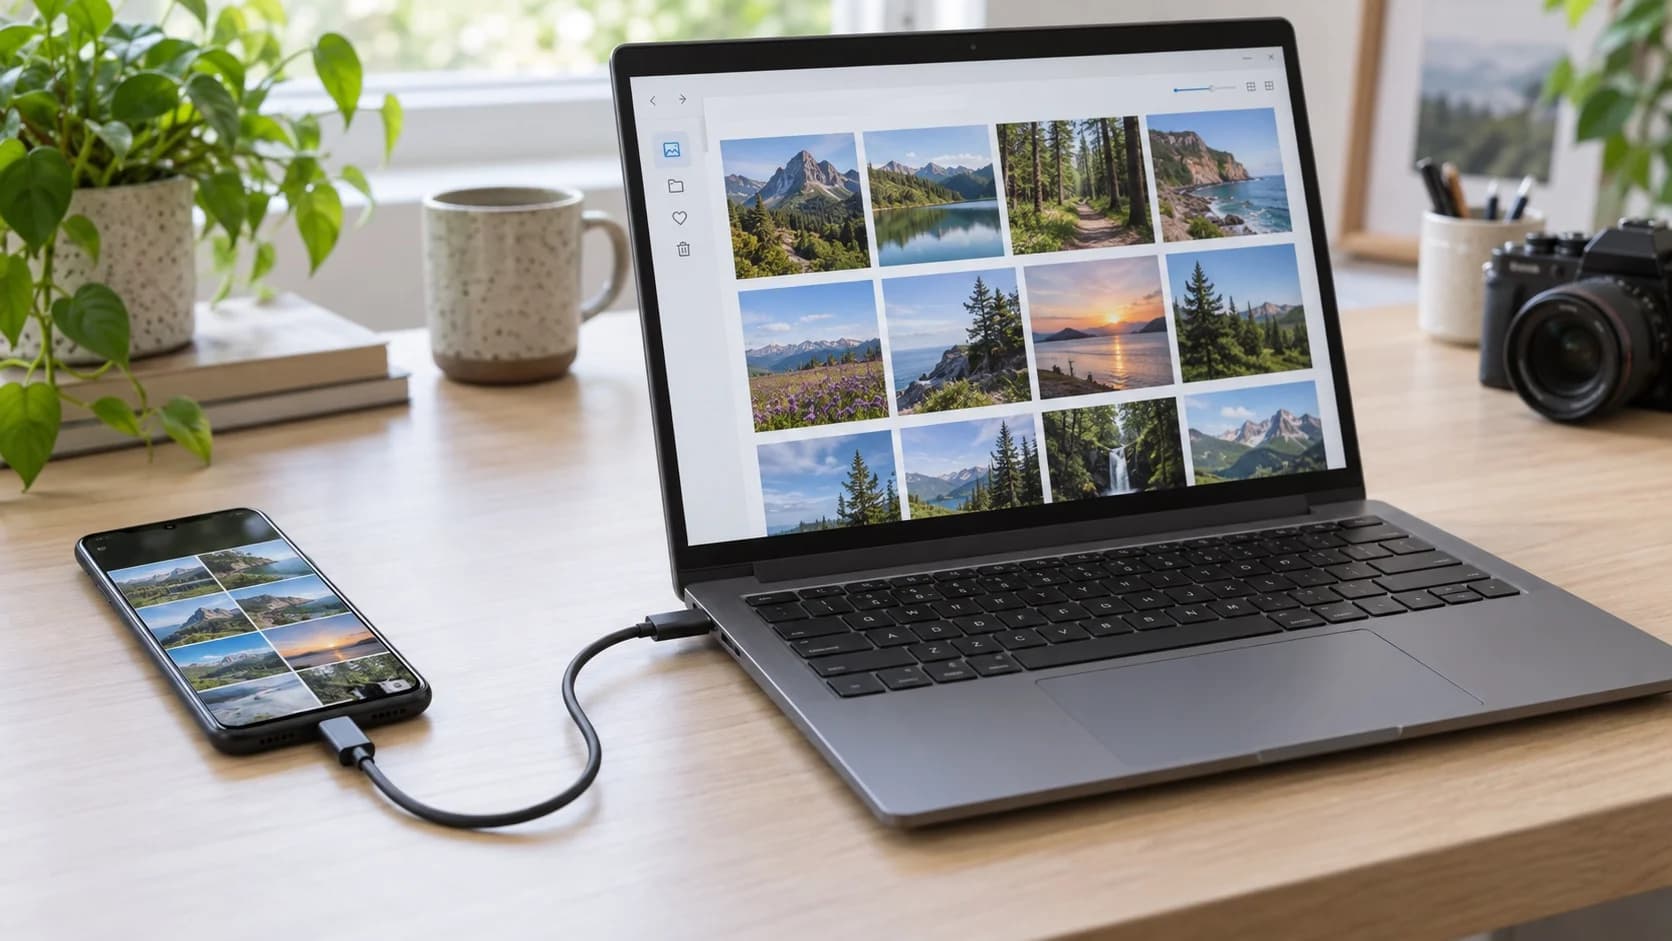
A direct USB import is the most dependable way to transfer photos from an iPhone to a Windows PC without iCloud. You need the iPhone, a cable that supports data rather than charging only, enough free space on the PC and permission to unlock and trust the computer. The photos remain on the iPhone unless you deliberately delete them after confirming the copy.
This method avoids cloud upload time and does not require an iCloud storage plan. It is especially useful for a large library, long videos or a slow internet connection. Before beginning, decide where the files will live on the PC and create a clearly named folder. If these pictures are important, plan a second backup after the transfer because moving them to one computer does not by itself create a resilient archive.
Prepare the iPhone and Windows PC
Install or update the Apple Devices app on Windows if your PC requires Apple’s device support, then update the Microsoft Photos app. Unlock the iPhone and keep it awake during the first connection. Connect it directly to the PC where possible; a loose hub or low-quality adapter can cause detection failures or interrupted transfers.
When the iPhone asks whether to trust the computer, tap Trust or Allow and enter the iPhone passcode. This permission lets the PC read eligible photos and videos. Grant it only on a computer you control. Apple’s photo transfer guidance notes that a locked device may not be recognized, so leave the phone unlocked until Windows has found it and started the import.
Import with the Windows Photos app
Open Start on the PC, launch Photos, select Import and choose the connected iPhone. Wait while Windows scans the library. Select individual items or the available option for a larger group, choose the destination and begin the import. Microsoft’s official import steps use the same sequence for Windows 10 and Windows 11.
For a large library, import in smaller batches organized by year or month. Smaller transfers are easier to retry and verify, and they reduce the chance that one problematic video obscures which files succeeded. Keep the cable connected, avoid locking the phone if the import stalls when locked, and do not let the laptop sleep. The time required depends on the number, size and format of the files as well as the cable and port speed.
Copy through File Explorer if Photos fails
Open File Explorer, select This PC, open Apple iPhone, then Internal Storage and the DCIM folder. You may see several subfolders rather than a single chronological folder. Copy the desired folders or files to the PC. Use copy first instead of cut so the original remains on the phone while you verify the result.
File Explorer is useful when the Photos app hangs during its scan, but the folder layout can be confusing and filenames may not convey capture order. Sort the copied destination by date, and expect edited versions, burst photos or videos to create related files. Do not reorganize or delete items inside the iPhone’s DCIM view from Windows during the first transfer. Complete the copy, disconnect safely, and manage the verified PC copies afterward.
Why some iCloud photos do not appear
Using USB avoids iCloud as the transfer method, but iCloud Photos may still affect what physically exists on the phone. If Optimize iPhone Storage is enabled, some full-resolution originals may be stored in iCloud while the iPhone keeps smaller local versions. Apple says originals must be downloaded to the device before they can be imported directly to a PC.
Open Settings, find the Photos settings and review the iCloud Photos and storage optimization choices. Downloading originals can require substantial free storage, Wi-Fi and time. If the phone cannot hold the full library, transfer available local items in batches or use the cloud copy through the appropriate service. Do not turn off synchronization or delete cloud content until you understand where the originals are stored and have verified another complete copy.
Fix device not found and Trust errors
Try another data-capable cable and a different USB port, unlock the iPhone, then reconnect. Charging alone does not prove that a cable carries data. Restart both devices if Windows still cannot see the phone. Update Windows, Apple Devices and the iPhone software. If the Trust prompt was declined or is stuck, reconnect and review Apple’s steps for resetting trusted-computer permissions before granting access again.
Temporarily remove unnecessary hubs, docks and extension cables. If security software or a managed work PC restricts portable devices, the administrator may need to allow the connection. Test on another trusted PC to determine whether the fault follows the phone or stays with the computer. Avoid random driver-download websites; obtain Apple software through official Windows distribution channels and use Windows Update for supported system components.
Handle HEIC photos and HEVC video
Recent iPhones commonly store photos as HEIC and videos using efficient formats that may not open in every older Windows app. A successful transfer can therefore look like a failed transfer when the real issue is playback or codec support. Update Windows and the Photos app first. You can also use compatible editing software or obtain the appropriate media extensions through Microsoft’s official store.
For future captures, Apple provides a Most Compatible option under Settings > Camera > Formats, which favors JPEG and H.264. Changing it does not convert files you already shot, and the compatible formats generally use more storage. Keep the original files when quality matters, then make JPEG copies for software that needs them. Converting the only copy can discard metadata or quality depending on the tool and settings.
Verify the transfer before deleting anything
Compare item counts where practical, open samples from the beginning, middle and end of each batch, and play several videos all the way through. Check that dates and orientation look correct. Then eject or disconnect the iPhone and confirm the PC files still open from their saved location. A thumbnail in an import screen is not proof that a complete local file was written.
Create a second backup on an external drive or another service before removing originals from the phone. If you are preparing to change devices, our guide to switching between iPhone and Android without losing data covers the wider migration. Treat deletion as a separate task after verification, not as part of the first import. That small pause prevents a cable problem or incomplete batch from becoming permanent loss.
A clean workflow for large photo libraries
Create destination folders such as 2026-01, 2026-02 and so on, import one period at a time, and record the final date in each completed batch. Keep filenames unchanged during the initial copy so duplicates and missing items are easier to identify. Rename or organize only after the source and backup have been checked.
Direct USB transfer remains a strong option because it is private, predictable and independent of internet speed. The essential sequence is simple: use a real data cable, unlock and trust the PC, import through Photos or copy from DCIM, resolve any iCloud-only originals, then verify and back up. With those checks complete, you can safely free space on the iPhone without guessing whether the only full-resolution copy survived.
Sources
- Transfer photos and videos from your iPhone or iPad to your Mac or PC
Apple Support | Checked
- Import photos and videos from phone to PC
Microsoft Support | Checked
- Transfer files between your Windows device and iPhone or iPad
Apple Support | Checked
Editorial disclosure
Prepared with AI assistance using official Apple and Microsoft support material reviewed September 20, 2026. The featured image is AI-generated and shows generic devices.